
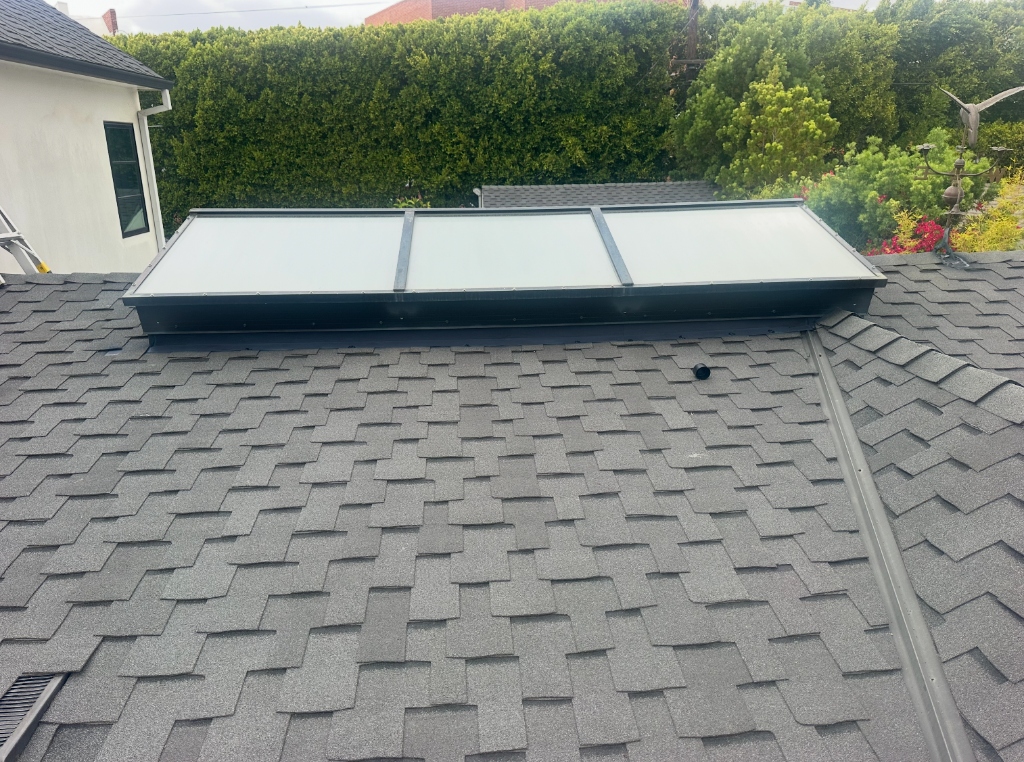
To find the source of a roof leak, start inside the attic with a high-lumen flashlight and measure uphill from the interior ceiling water stain. Water travels along the underside of roof sheathing and down rafter edges before dripping onto drywall. On the exterior roof surface, inspect penetrations (vent pipes, chimneys, skylights, and valleys) located 5 to 15 feet uphill and laterally from the interior stain.
Key Technical Takeaways
- Interior water marks are rarely directly beneath the roof breach due to rafter slope migration.
- Check for black mold spots, water tracks, or rusted nails in the attic directly above the ceiling stain.
- A garden hose water test should be conducted systematically starting at the lowest eave and working slowly uphill.
- Pay special attention to shingles with broken seal strips directly above valley flashings.
The Geometry of Water Migration in Attics
Gravity dictates that water flows down slope. However, surface tension and capillary action allow water to cling to the bottom edge of plywood sheathing and crawl along angled 2x6 rafters for ten or fifteen feet before finding a joint, knot hole, or low spot where it drops onto fiberglass insulation. Once insulation becomes saturated, water pools on the top side of ceiling drywall until it finds a screw hole or drywall tape seam, dripping into your living space.
How to Execute a Controlled Roof Water Test
When a leak is elusive during dry weather, professionals conduct a controlled isolation water test: 1) One technician stays in the attic with a radio and flashlight, 2) A second technician starts at the lowest point on the roof (eaves and gutters) running a low-pressure garden hose over one isolated penetration for 10-15 minutes, 3) Work slowly uphill, testing one plumbing boot, chimney, and valley at a time, and 4) When the attic technician spots fresh moisture, the exact failure point is identified without soaking the entire roof.
- In attics, only step on solid ceiling joists; stepping on drywall or fiberglass insulation will cause you to fall through the ceiling.
- Never run high-pressure water upward against shingle laps during tests, as this artificially injects water where natural rain would never go.
Repair vs. Replace Decision Matrix
- •The water source is isolated to a single failed pipe collar or cracked valley seam.
- •Attic sheathing around the leak area is firm and free from systemic fungal rot.
- •Water stains appear across multiple rafters across different roof facets, indicating comprehensive underlayment failure.
Frequently Asked Questions
Why does my roof leak only during wind-driven rain and not vertical showers?
Wind-driven rain hits at shallow angles, pushing water horizontally beneath unsealed shingle tabs and behind vertical wall flashings where gravity-shedding overlaps fail.
Need Professional Assistance With Your Roof?
Our 100% in-house trained crews provide certified leak diagnostics, storm inspections, and permanent repairs across Lancaster, Palmdale, Santa Clarita, and Gardena.